Wednesday, January 22, 2014

C&S Step by Step 1-22-14


January 22, 2014

I just love it when things come together and I can take care of two projects at once.  Today I will be creating a 3x4 card that can be attached to a card front or used as a pocket page filler card.  I'm follow another blog Project Life Card Swap, where we swap 3x4 and 4x6 cards.  I picket the Love theme this month which works really well with this weeks featured paper Love Notes from Crate Paper and the Paper Smooches Love Struck stamp set.  

I 
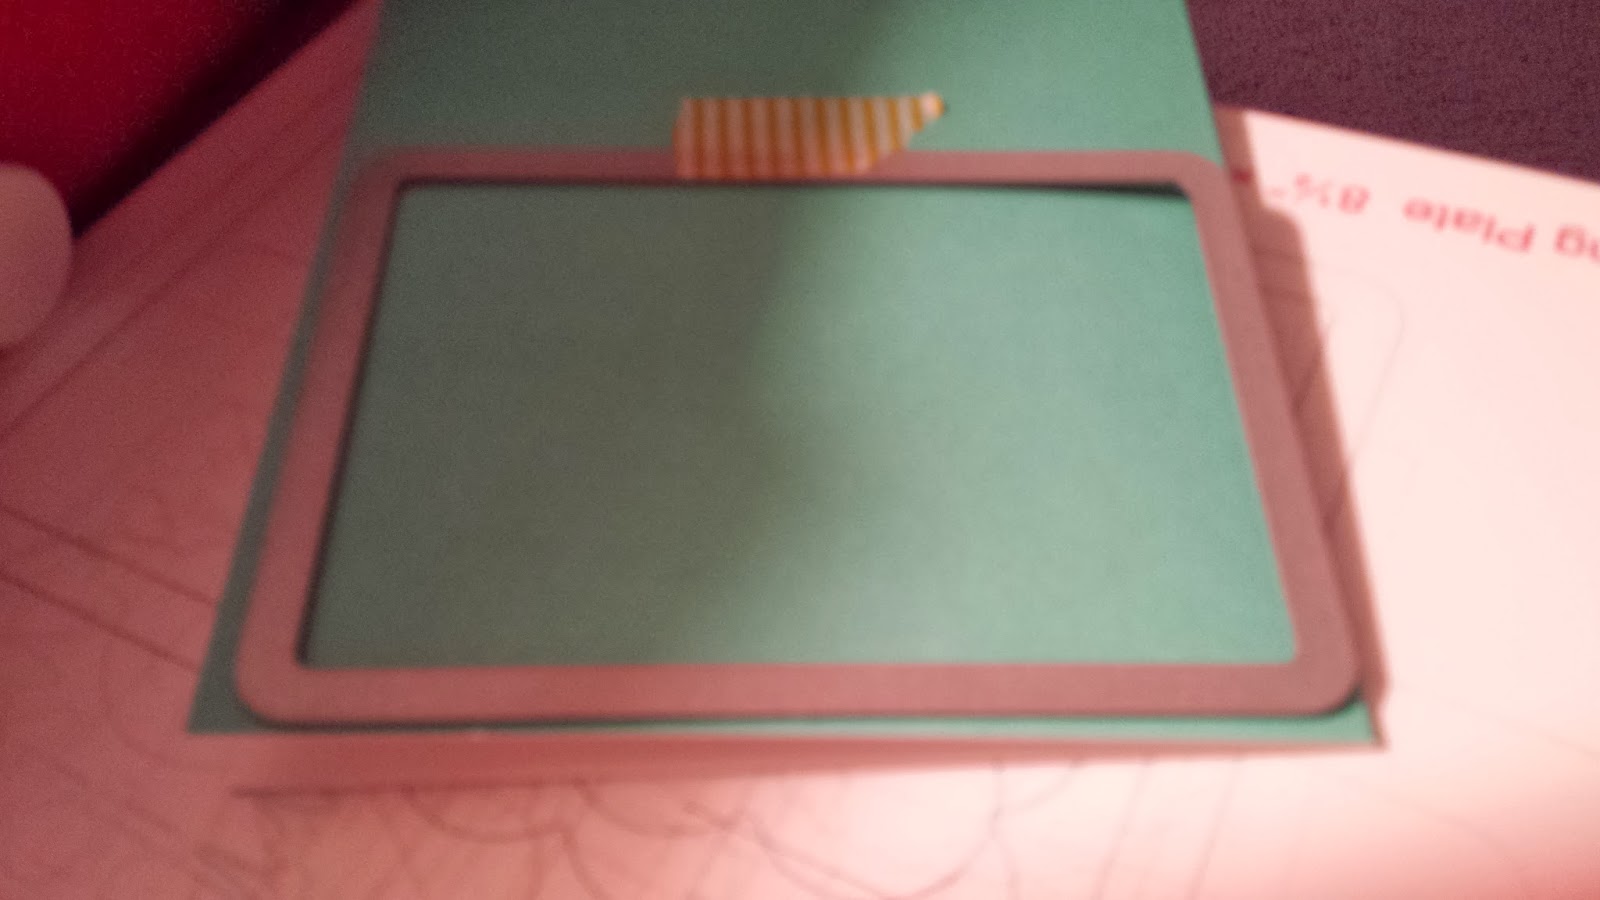
knew I needed to make 10 cards for trading so I started with the Lawn Fawn Stitched Journaling Card die and used it to cut two cards at a time.  This is actually the fist time I've cut more than one piece of paper at a time and I was really surprised how well it did.  I just folded my 8 1/2 x 11 paper in half and the die fit perfectly.  I was able to cut 6 from each sheet of paper. 


 I then took the Paper Smooches Love die and cut it out of the flying hearts paper.  I don't know what I was thinking, because you really can't see the hearts on it.  Then I took the die and traced the outline of it and cut it out with scissors.  I needed to create a shadow for my die cut and this is the easiest way I've found to do that.  


 I took the Love Struck stamp set and stamped and then used the metal die cut for the arrow.   I cut out the heart with the Spellbinders heat die and covered it with Glossy Accents.  After looking at it, the arrow seemed real plain so I colored it with some Wink of Stella silver and pink.


Then I did was something I don't normally recommend, but I have been know to do it a few times.  That is cut my stamp in half.  This way I can use the part of the stamp I need.  With the clear stamps it's very easy to place them back together and stamp with them as a whole unit later on. 


I used the Struck part of the stamp.  Using Versamark ink and white embossing powder really helps the word stand out.  I then took my Uni-ball white gel pen and traced along the outside of the stamp where the stitching marks from the die are. 


One down, nine more to go.  

The anything goes with an arrow challenge ends on Monday.  Be sure to stop by the challenge blog and get your creation entered.  We would love to see what you create. 

Until next time.

Tuesday, January 21, 2014

C&S Weekly Challenge - Arrows


January 21 - 27, 2014

Weekly Challenge - Anything Goes with Arrows

There are SO many wonderful paper lines and projects created using arrows.  The Cuttin' and Stampin' design team wanted to play with arrows too.  I got to play with the Crate Paper Love Note paper line and the Love Struck Paper Smooches stamp set.  

I used A Muse Mermaid paper for my base and all of the pattern paper was from the Love Notes paper collection.   I stamped and then cut out the arrows wit the matching Paper Smooches dies.  I then used the Copic Glitter pens to color in the arrows.


We hope you enjoy this challenge as much as we have.  You have until January 27th to enter your projects HERE. 

Thursday, January 16, 2014

C&S Pocket Thursday - Winter Wonderland


January 16, 2014
 
Hello, Hello.  Hope everyone is having a fine week.  Today is Pocket Thursday at Cuttin' and Stampin' and I want to show you what I've created using the Bo Bunny Winter Wonderland binder contents collection and the Captured Moments stamp set from Paper Smooches.  


I wanted to add just a little bit of damnation to the words I added to this card so I took some 1/8 foam and stuck it to the back of my A Muse Studio Seattle Paper. Then I ran it through the die cut machine.  As you can see I run it through the first time and then couldn't figure out how to add the foam tape to it.


 I cut down all of the cards by 1/8" on each side so that I could back them with the solid cardstock.  I used A Muse Studio Navy and Seattle.  I stamped a few of the cards with sentiments from the Paper Smooches Captured Moments stamp set. 


In all the places I plan on putting a picture, I cut the corners of the paper with a Fiskars decorative corner punch. 


After filling these two pages, I sill have quite a bit left to create another set of pages or place inserts into a mini album.


Here's the two pages up close. 


 I have three 4x6 picture spots on the first page with two large journal spots. 


This second page has two 3x4 in the middle and two large journal sport.  I was thinking of adding 2014 in the upper right hand corner above the winter.  

My picture of the two sheets together have a real bad glare and are hard to see, but I think this will be a great layout for my nieces book showing off the her four boys.  

This week's challenge to create something about winter is still going on and you can enter your own great project.  We would love to see what you create and you can enter HERE.
 
Thanks for stopping by today. 


Thursday, January 9, 2014

C&S Step by Step 1-8-14


Wednesday, January 8, 2014.

WOW!! Another change on the Cuttin' and Stampin' Blog.  We will be featuring a project each Wednesday with a picture tutorial showing the different step we've taken to create the project.  

This week we are working with Christmas paper and creating a Non-Christmas item.  I  have to tell you that the Bazzill Believe paper line was really great to work with.   I started with a Buttermint card base cut at 4 1/4" x 11" and created a top folding A2 card. My second layer cut out of Chili was 4" x 5 1/2".   The Woodgrain paper was cut at 3 3/4" x 4"  and a strip at 1".

I took the 1" strip of woodgrain paper and stamped it with the sentiment from Paper Smooches Salutation in Versamark ink and then used black embossing powder.

Then I used a heart die cut from spellbinders to create the cut in my larger woodgrain piece.

Once the first heart was cut, I left the die in place and removed the cut piece.  I made sure the die stayed in place and the cut line stayed lined up with the opening.  
I then put it on top of the Chili paper piece and used my craft knife to cut out around the inside of the die.  I wanted a little bit of the red to show through before you see the off white card base. 
I went back to my black embossing powder and the Paper Smooches We Connect stamp set to add the Mr. and Mrs. to the front of the card.

The final few steps was to stamp the ampersand in the middle of the heart.  Then I used one layer of foam tape on the back of the Chilli card stock and attached it to the card base.  I then added a layer of foam tape to the back of my fist sentiment piece, cut the end off into a flag shape and attached it.


So here's my final card.  A little different than what I first envisioned, but not to bad.  I keep thinking I need to add something to it, but the baker's twine hasn't been uncovered yet and I didn't want to add flowers.  I'm sure the new couple will enjoy it just the way it is.

I hope you enjoyed this photo tutorial on how I created this card.  We will be featuring a tutorial every Wednesday.  If there's something you would like to learn about, leave me a note and I'll see what we can do to help you out.

If you feel inspired to create something using Christmas paper in a Non-Christmas fashion, you have until Monday January 13, 2014 to enter your project.  Just go HERE to check out the details.  


Tuesday, January 7, 2014

C&S Non-Christmas Challenge WK #14-1


Week 14-1

There are a lot of changes going on at Cuttin' and Stampin'.  Everyday will be a new type of project.  Tuesdays are going to continue to be the Challenge kick off day.  This week we want everyone to use of some of that extra Christmas paper.  So the challenge is to use some Christmas paper in a non-traditional way.  This week the Design Team is using Bazzill Basic Paper Believe collection to create with.


Here's my card.  The background paper made me think of apple slices.  I must have been really hungry when it was time to create this card. I picked out the Paper Smooches Sugar Rush stamp set.  The Bazzill Believe paper has some great solid colors that coordinated with it.  Guacamole, Chili and Ivory. I used my Copics to color my favorite treats, Orange Creme, Mint Chocolate shake and Vanilla cakepop.  I tried to use some Wink of Stella clear on the cup of the shake to that ti looked frosty, but I'm not sure you can see it shows very well.


Cuttin' and Stampin' Scrappy Supplies Facebook Store Believe album has the paper and stickers available for purchase.   

Now it's your turn to have some fun and create a project using Christmas Paper in a Non-Christmas way.  You have until January 13, 2013 to enter your projects HERE.

Thursday, January 2, 2014

C&S Use Something New Challenge - Pocket Page


#52
Challenge: Anything goes using Something New

December 31st - January 6th, 2014 

Starting off the new year, we want to start featuring different types of projects.  

Thursdays is going to be Pocket Thursdays and we will be featuring projects using pocket page style scrapbook pages. 

I have been working with Craffiti Direct on a few projects and they supplied me with the New Years Stamp set to use on this project.  


Here's a quick picture of some of the other item I started with.  


The first think I did was take an UmWow Studios mask and some gold embossing paste. I smeared the mask with the paste and let it dry.  I really thought I was going to use more of the stars,


I stamped the year on the star and used black embossing powder to bring out the year.  Then I punched a hole in the top of the star and threaded it with some bakers twine.  I wanted it to look like the ball dropping.


I used a Copic Glitter Gold pen to color the champagne glasses.  I stamped the stars in clear Versa Mark Ink and gold embossing powder.
 

Here's another filler card I created using the bottle and the bigger set of shooting stars.  I used the same glitter pen on the bottle and gold embossing powder on the starts.  I then used white embossing powder and the Celebrate stamp up in the corner. 


 There are some other stamps in the group that I used.  The Out with the Old and In with the New.  This is a great place to do some journaling.


So here's the full two page layout.  There's a nice  8x6 picture spot in the upper right corner and I can't wait to get the picture of my husband and I developed to put there.  This also left three other 4x6 picture spots and a full 2x12 journaling spot where I can write down our evenings activities.  


Here's a close up of the right side.  I used the embossed stars down one side of the top picture spot.


Here's a close up of the left side.  I used the My Minds Eye Chalk Studio Paper collection and I really like how I was able to use one of the wonderful printed sayings.  


 Please make sure your creation post has a link back to Cuttin' and Stampin'

Thanks for playing along we will be announcing the winners on January 10, 2014.

Please link your projects HERE.